W3 Total Cache WordPress Plugin
One way to optimize WordPress is to install W3 Total Cache (W3TC). You can install it from your WordPress Dashboard under Plugins. We recommend the following settings:
- Page Cache: Enable
- Page Cache Method: Disk (Enhanced)
- Database Cache: Disabled
- Object Cache: Disabled
Other options for optimizing WordPress include WP Super Cache.
What is W3 Total Cache?
W3 Total Cache is one of the leading caching plugins available for WordPress, along with WP Super Cache, with both receiving downloads in the millions. These plugins enable you to speed up the time it takes for your site to load. This helps to reduce the time visitors have to wait for your content to be displayed.
In basic terms, they deliver this speed improvement. They reduce the amount of load that is put on your server and database. This is done by creating local copies of your files on the visitor’s computer, as well as reducing the number of times your database is accessed. Also, lowering the number of times each page is generated.
While this might sound quite technical, these plugins make light work of enabling this. However, they do have a considerable amount of settings to work through. These settings usually have the potential to cause problems for your site if configured incorrectly.
Do you need the benefits of a faster site, such as increased visitor retention and improved ranking in the search engines? If so, a free caching plugin such as W3 Total Cache is the right choice. You can use it without paying an expensive managed to host service. Even if you do use such a hosting service, a caching plugin could still help.
Installation
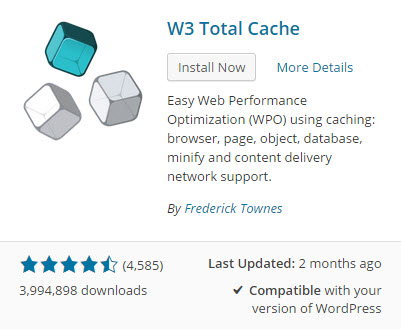
As this is a free plugin, you can install W3 Total Cache directly from your site. From the admin dashboard of your WordPress site, simply go to Plugins > Add New and then search for ‘W3 Total Cache’ and it should be the first plugin in the search results. Hit ‘Install Now’.

Then, activate the plugin once it’s installed. Once the plugin is live on your site, the settings can be accessed from the ‘Performance’ menu item on the left-hand sidebar menu.


